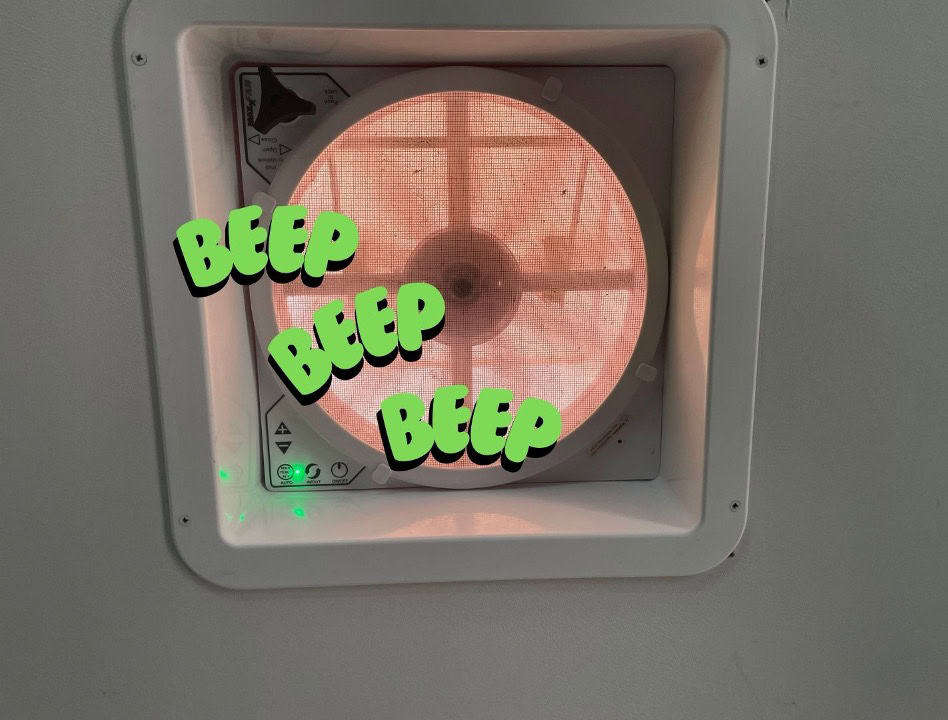
What the heck?! I spent my hard earned money on a good quality Maxxfan that worked for a few months then went kaput. Now, when I turn it on, it runs for 3 or 4 seconds, stops, and a green light starts blinking and beeping and beeping and beeping.
Why am I getting a beeping green light on my MaxxAir fan?
The green light of death is a fairly common problem that a lot of RVers have complained about. There are a couple things that can cause it, at the good news is that there is a solution.
Bad Lid Lift Motor
The first thing you should check is to make sure the vent lid is in the open position. A vent fan will only work when the lid is lifted up. Some MaxxAir fans have a lift motor that automatically lifts the lid when the fan is turned on. If this motor goes bad, the lid won’t lift, and the fan turns off giving you a warning (beep, beep. Green light.) If this is happening, check for any obstructions that might be preventing the lid from lifting, open the lid manually and replace the motor if necessary.
Voltage Issue
MaxxAir fans are sensitive to voltage irregularities and even a tiny discrepancy can cause the fan to malfunction and set off the warning. Thankfully there is a simple and inexpensive solution; installing a voltage regulator.
While there are many choices when it comes to regulators, the Drok DC-DC 9V-36V to 12V converter is a great solution. It’s waterproof, and will tuck away nicely next to the fan. It is simple to attach the wires in line with the fan’s wiring and will make sure the fan gets a constant 12 volts.

How to Install a Voltage Regulator on a MaxxAir Fan
- Turn off shore power and turn off the house battery switch (depending on your RV) to make sure no power is getting to the fan while you work. Some people skip this step because 12v power and 5 amps don’t pose a real danger and this is a simple rewire; nothing too concerning.
- Remove the fan’s trim and the screen.
- Remove the panel and cut away any zip ties to give you better access to the wiring.
- You will see two wires coming out from the roof attaching to the fan, usually one black and one white, although some RVs will have a brown wire.
- Cut the two wires just above and below the connectors getting rid of the old connectors.
- Prep the regulator wires by adding connectors to its 4 wires.
- Check the polarity of the wires coming out from the roof. Do this by setting a multimeter to 12v. Turn the power to the fan back on and touch both wires with the meter probes. If the meter reads 12v, you know the wire touching the red probe is the positive wire. If you get nothing, or it reads zero, then you have it backwards.
- Now that you’ve confirmed which wire is positive, follow the diagram on the regulator and attach the positive and negative wires to the input wires of the regulator.
- Attach the output wires of the regulator to the control board wires, positive to positive and negative to negative.
- Attach the regulator somewhere next to the fan. You can either screw it in or use adhesive.
- Tuck away the wiring and attach the panel.
- Test it. Turn on the fan to confirm that it’s working.
- Reattach the screen and the trim.
Now your fan will have a consistent 12v supply without any spikes and the green light of death issue should be solved.
Bad Control Board
If you’re still having issues, you may have a bad control board. If your fan is still under warranty, you can order a free replacement from Maxxair. They are aware that some bad boards were installed and have been very good about replacing them under warranty. Generally a warranty will last for 2 years from the date of purchase, but check their warranty page for all the terms and conditions.
If it’s not under warranty, new control boards can be purchased for right around $100 from places like e-Trailer. Always check your exact model number to make sure you’re getting the correct board.
Replacing the board is simple. After removing the trim, screen and panel, you can disconnect the panel from the fan. Next, remove the screws from the control board and carefully disconnect any other connectors from the board. Replace with the new board and reattached all connections.
To prevent rain water from accidentally contacting the circuit board, some RVers go the extra step of spraying the new board with a coating of clear polyurethane before installing it. If you do this, protect any exposed connectors with painters tape.
Once you have everything back in place, the screen and trim back on, test the fan to make sure it works properly and the green light doesn’t come back on.
Hopefully these tips will help you keep your vent fan running and get rid of that annoying beeping and green light.